North View Cottage

North View Cottage

25 Aug 2014

Taking advice from the roofer, we have fitted mesh behind the gutter ventilation area to prevent wildlife from accessing the roof space, followed by installation of polystyrene foam insulation, in between the ceiling joists, in preparation for the plasterer' visit tomorrow.


Window Glazing

8 windows to be glazed by hubby and myself...the first one took 1.5 hours, and following windows approximately one hour each, experts by the time all were glazed and trimmed.


21 Aug 2014

Fitting roof and sky lantern

After much discussion we decided to employ a roofing company to fit the timber frame and roof lantern, and after seeing the amount of timber and quality of their work, we are really pleased we chose to go this route


By end of day one the roof construction is complete, and first coat of fibre glass coating has been applied and left to dry


Work completed end of day two, with second coat of fibreglass and roof lantern fitted and glazed


There followed some touch up painting and trimming by hubby


Fitting Woodwork to Conservatory

The next step in conservatory construction is to erect the woodwork panels etc.
First step is the fitting of the exterior and interior sills and door frame, followed by the installation of the window frames. As we are adapting the purchased units to fit into our plan, we needed to cut off 10mm down the length of several of the windows, to ensure the 5 windows fitted along the length of the conservatory. We hired a table saw to make this job easier.


20 Aug 2014

Construction Begins

At last after many weeks of planning and designing, changing our ideas, being let down by one builder and receiving an extortionate quote for brickwork from another, hubby and myself have decided to "have a go" at brickwork for the dwarf walls ourselves.

The materials were ordered and delivered, tools brought down from the attic storage, a couple of visits to DIY stores for extras needed, and we buckled down to the task...

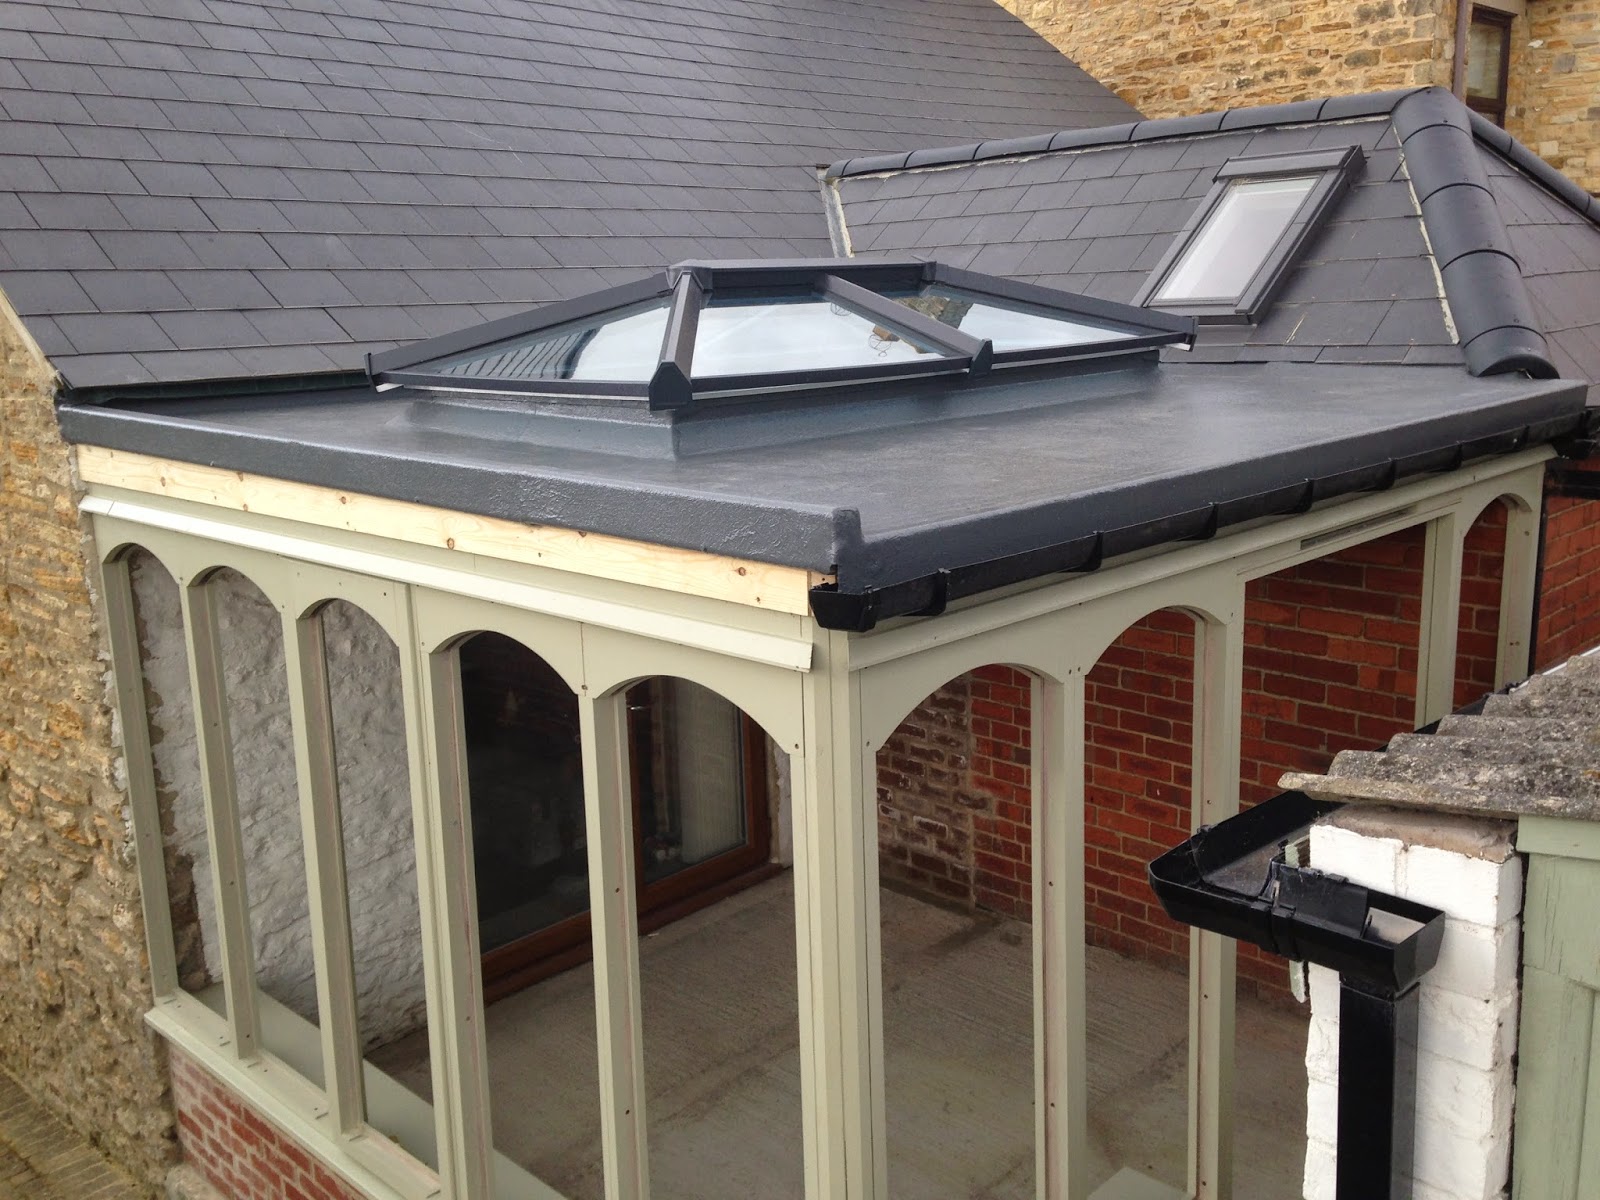
Here follow lots of photos of the various stages of the dwarf wall construction, logging them mainly for future reference.


We slotted in 50mm polystyrene cavity insulation between brick walls


The next stage was to remove the rear UPVC door and replace with a small timber window, and to brick up remaining doorway. We managed to get caught in a heavy rainstorm, the tail end of hurricane Bertha!
We somehow managed to rig up a temporary tarpaulin and eventually completed the brickwork at 11pm at night, both of us being absolutely shattered!